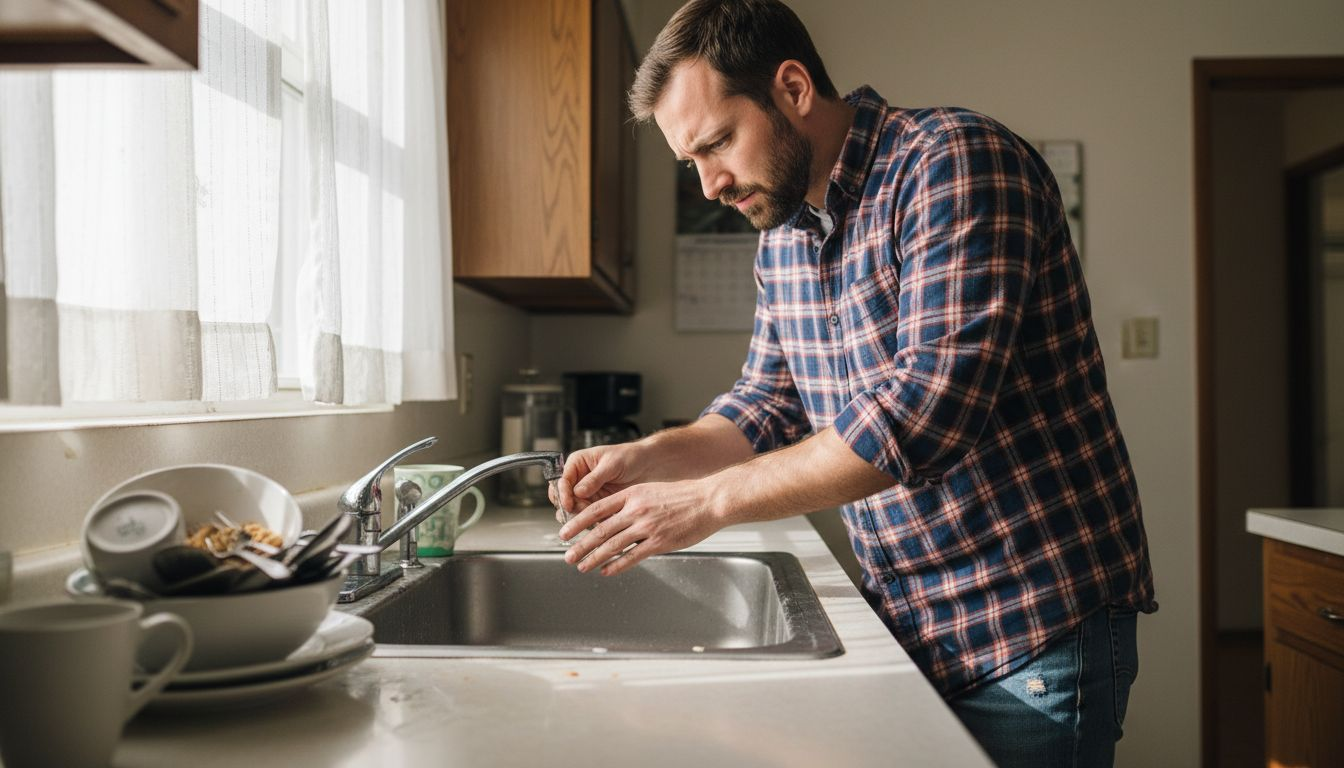

How to Fix a Leaky
Bathroom Faucet

How to Fix a Leaky Bathroom Faucet
A Comprehensive Guide by DrainWorks Toronto Plumbing
Introduction: A leaky bathroom faucet isn't just a small annoyance; it can result in significant water wastage and higher utility expenses.
At DrainWorks Plumbing, we recognize the importance of promptly addressing such issues. In this comprehensive guide, we'll walk you through the steps to fix a leaky bathroom faucet, empowering you to tackle the repair with confidence and save both water and money.
What Causes a leaky Faucet?
Understanding the Problem: Leaky bathroom faucets often result from various factors, including defective parts such as O-rings, washers, and gaskets, or corrosion and mineral deposits. Recognizing the signs of a leak and understanding the underlying causes is crucial to effective repair and maintenance.
As a
leading plumbing service provider in Toronto, we've encountered numerous instances of leaky faucets, and we're here to share our expertise with you.
Preparation: Before you begin the repair process, it's essential to gather all the necessary tools and supplies. You'll need wrenches, screwdrivers, pliers, and replacement parts such as O-rings, washers, and cartridges.
Additionally, make sure to shut off the water supply to the faucet to prevent any accidents or further leakage. This step is crucial for your safety and the success of the repair.
How to Stop Faucet from Dripping?
Step-by-Step Repair Process:
- Identifying the Type of Faucet: Determine the type of faucet you have, whether it's single-handle or double-handle, and the mechanism it operates on, such as cartridge, compression, or ball. Knowing the type of faucet will help you understand how it functions and which parts may need to be replaced.
- Disassembling the Faucet: Turn off the water supply and remove the faucet handle using the appropriate tools. Access the cartridge or valve assembly by removing any decorative covers or caps. Take care not to damage any components during this process.
- Inspection and Diagnosis: Once you've disassembled the faucet, inspect each component for signs of wear, damage, or corrosion. Check the O-rings, washers, and valve seats for any cracks or deterioration. Mineral deposits and corrosion are common culprits behind leaky faucets, especially in areas with hard water.
- Repairing or Replacing Components: Based on your inspection, replace any damaged or worn-out parts with new ones. This may include replacing O-rings, washers, gaskets, or the entire cartridge or valve assembly. Take note of the specific sizes and types of replacement parts needed to ensure a proper fit and functionality.
- Reassembling the Faucet: Carefully reassemble the faucet, ensuring that all components are properly aligned and tightened. Reattach the faucet handle and decorative covers, and turn on the water supply. Test the faucet for any leaks or irregularities in water flow. If everything looks and functions correctly, congratulations – you've successfully fixed your leaky bathroom faucet!
Additional Tips and Considerations
For a Leaky Faucet:
Preventive maintenance is key to extending the lifespan of your faucets and preventing future leaks. Regularly clean your faucets to remove mineral deposits and debris, and lubricate moving parts with plumber's grease.
· Knowing when to seek professional help is crucial. If you encounter complex issues or difficulties during the repair process, don't hesitate to
contact a licensed plumber for assistance. They have the expertise and tools to tackle more challenging problems effectively.
· When sourcing replacement parts, consider visiting local home improvement stores and take photos or the parts themselves with you. Ensure you choose high-quality parts that are compatible with your faucet model to avoid future issues.
· Fixing leaks promptly not only saves water and reduces utility bills but also contributes to environmental conservation. By taking proactive measures to address leaks, you're doing your part in conserving valuable resources and reducing your carbon footprint.
Fixing a Leaky Bathroom Faucet:
This is a manageable task that can yield significant benefits. With the guidance provided in this comprehensive guide, you can confidently tackle the repair process and restore your faucet to optimal functionality.
Remember to prioritize safety, gather the necessary tools and supplies, and follow each step carefully. If you aren't feeling confident about your abilities, don't tackle the repair on your own!
At DrainWorks Plumbing in Toronto, we're committed to helping our customers maintain efficient plumbing systems. If you encounter any challenges during the repair process or require professional assistance, don't hesitate to reach out to our team.
Together, we can ensure your faucets are in top condition, saving water, reducing utility bills, and contributing to a sustainable future.
Call 416 486-0000 or Book Online.
Thanks For Reading
"How to Fix a Leaky Bathroom Faucet"
Thanks for reading "How to Fix a Leaky Bathroom Faucet?"
Make sure to check out our other plumbing blogs below like: "Why Is My Toilet Gurgling?"